Thursday, June 2, 2011

Scanography


I used the scanner to take these photos, and then used filters to adjust their backgrounds.

Wednesday, May 25, 2011

Warm and cool hands at work


I edited the color balance of each photo to give it a warm or cool look.

Out of proportion

I used the transform controls and layer masks to make the tiny birds look huge

Skin softening

I used the patch tool to get rid of freckles and spots, and I unsharpened the skin to make it look softer

Tuesday, May 24, 2011

David Hockney

I edited a photo from the downtown mall trip to make it look like many Polaroid photos put together into one picture

Reflection

I used the warp tool to make the farm picture look reflected in the glass. I also used the blending modes to make it look more realistic.

Tuesday, May 10, 2011

Lights

I used the pen tool to make the lights coming from the train. With the pen, you chose different points and it makes a line between them. You can then twist the line or move the points.

Macro-Sharpening


Macro pictures are very close up, and sharpening them puts a thin white line around everything making it look more clear.

Friday, May 6, 2011

Carter's Mountain


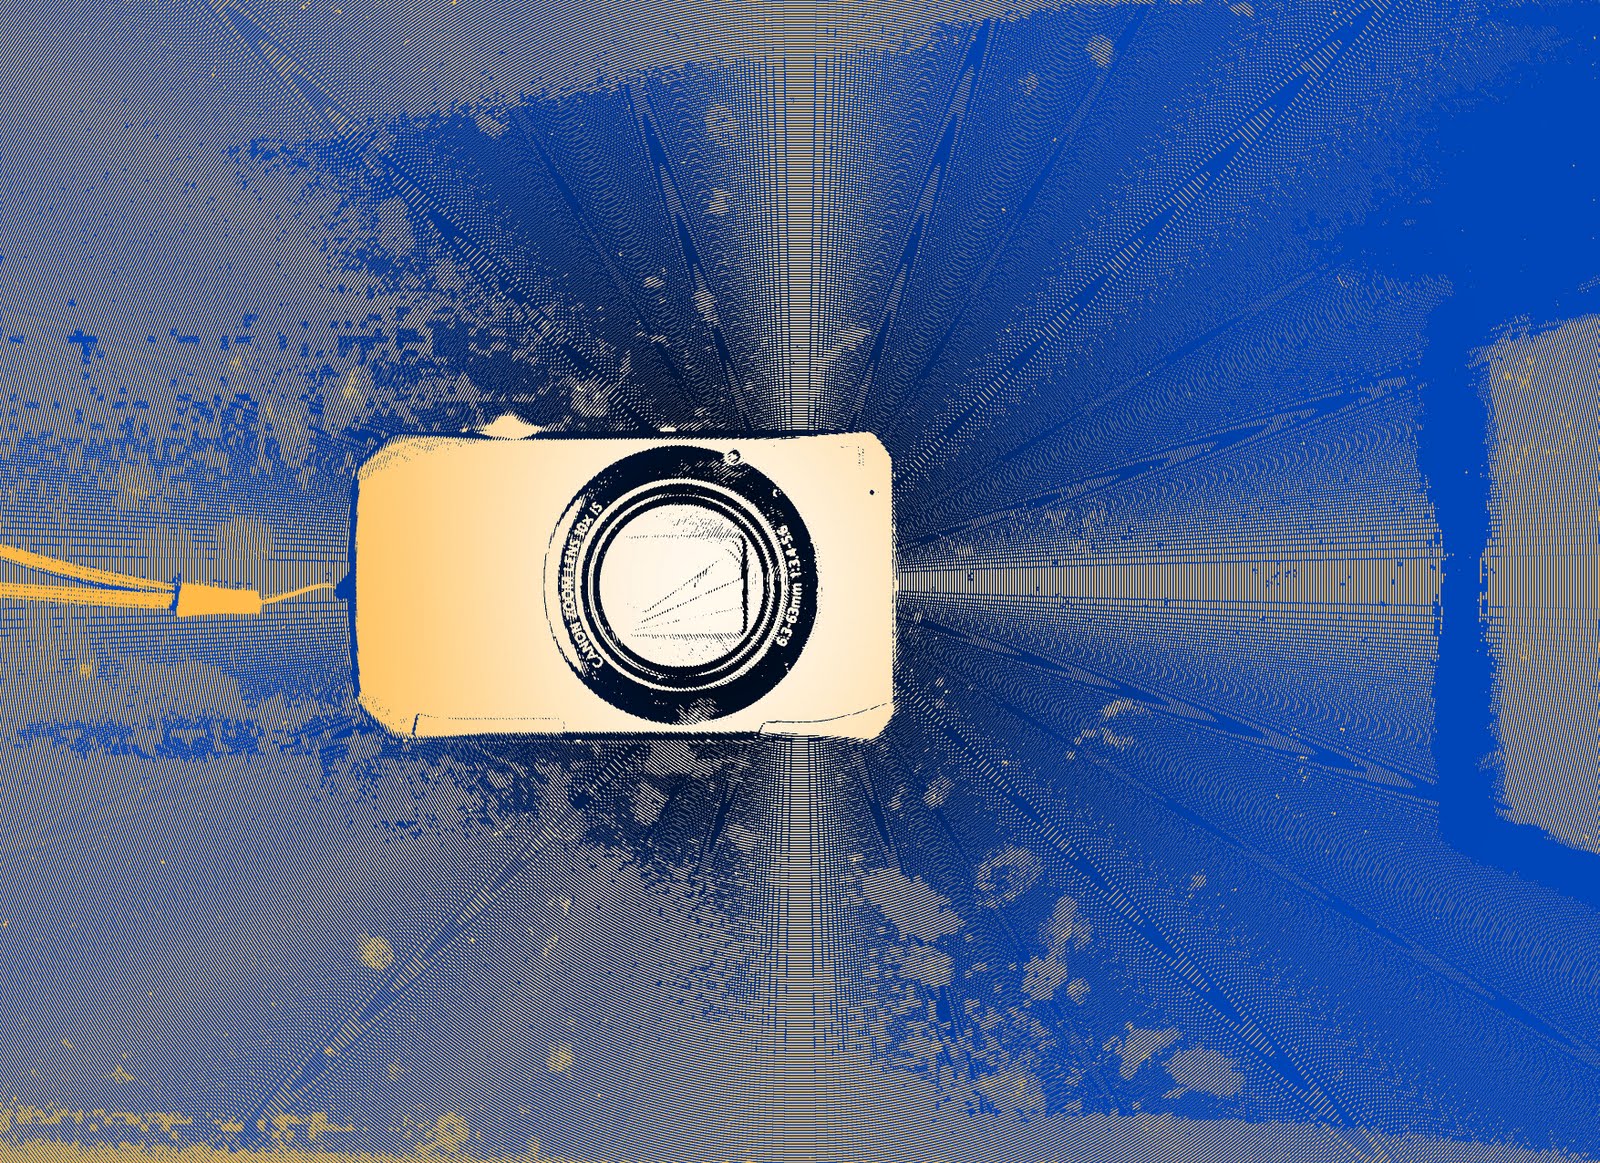
I made one photo black and white with text, and one sepia with text. I color corrected the stairs and the antenna pole things, then made a stamp like picture with the antenna's. To make the stamp I used threshold and dodge and burn.

Portraits


I did cross processing, ink sketch, and made a custom shape out of my portraits

Collage


I chose to replicate Charles Abrams's work for my collage. I used layer masks and I edited the hue specific elements of the collage. I took all the photos for my Charles Abrams style collage.